The customer's journey
Self-Service Kiosk is an add-on. See What's included, and what's an add-on.
What this is for
Knowing exactly what a customer sees, so you can tell whether your menu works on it.
Six screens, start to finish.
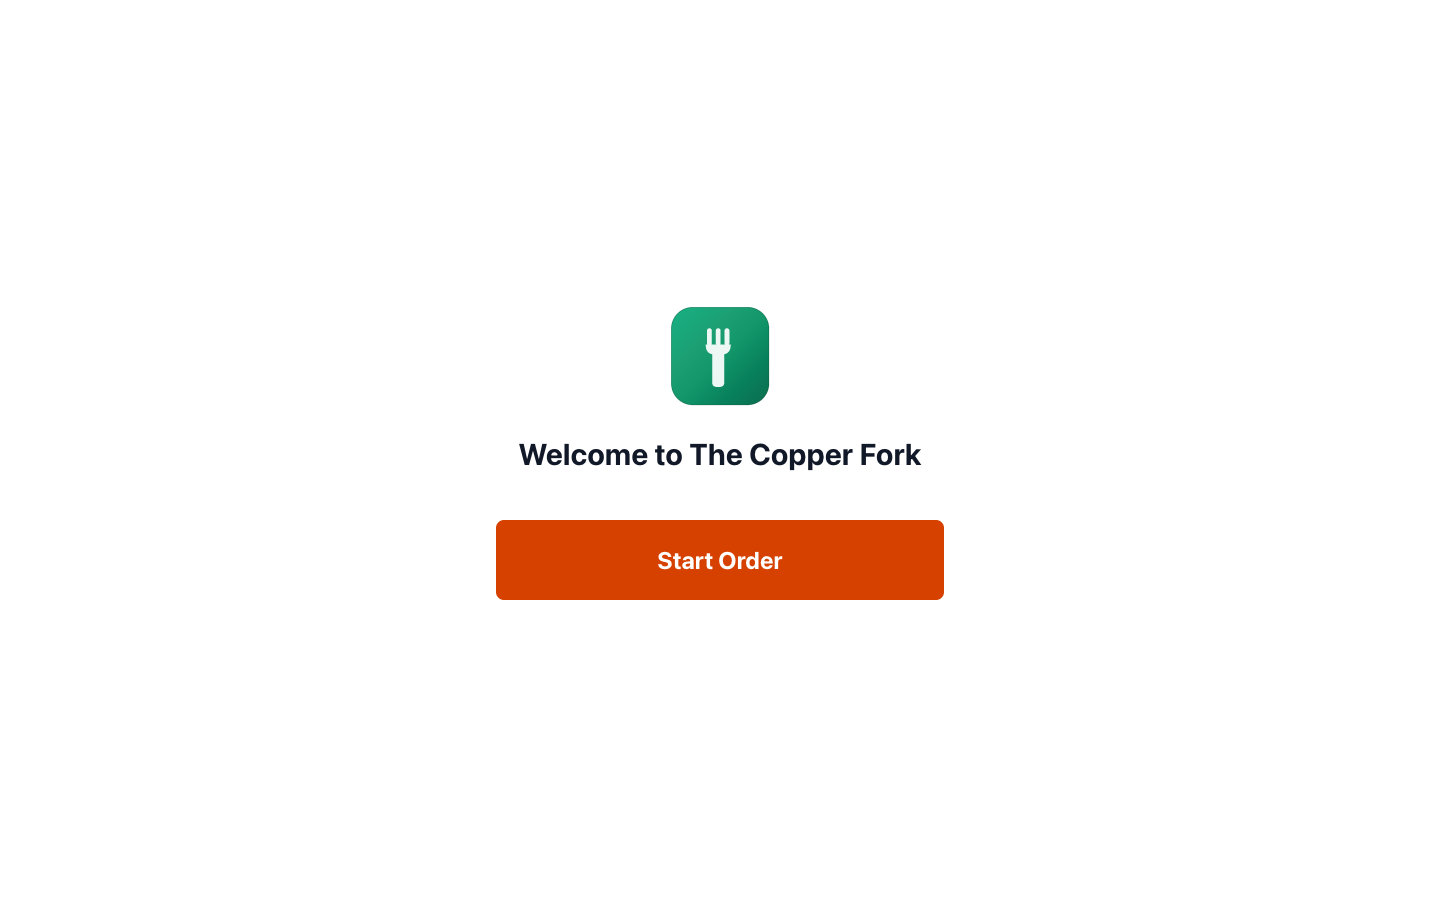
1. Welcome
The resting state: Welcome to [your restaurant] and Touch to Start.
This is what the screen shows for most of the day, so it's also your most-viewed piece of signage. Make sure your restaurant name and branding are right — see Setting up your restaurant.
2. How would you like to order?
Dine-In — enjoy your meal in our restaurant — or Takeaway — pick up your order to go.
Which appear depends on the order types you've enabled. If you only do one, the customer still has to choose — worth thinking about if you're a takeaway-only operation.
3. The menu
Categories, items, photos, prices. Search is available for customers who know what they want.
This is where your photos earn or lose their money. There's no waiter to describe anything and no one to ask. Every item without a picture competes with one that has a picture, and loses.
If your photos aren't ready, do that before you put a kiosk in the room. See Adding menu items.
4. Customising an item
Tapping an item opens Customize Your Item: variations, modifiers, quantity, and a running Total Price, then Add to Cart.
Two things to check on a real device:
- Are modifier names self-explanatory? "Add bacon (+£1.50)" works. "Sup. Bac." doesn't.
- Are there too many? A modifier group with fifteen options is fine when a waiter reads it out and unusable on a touchscreen. Trim it for the kiosk's sake, and the ordering site benefits too.
5. The basket
Order Summary — items, quantities, subtotal, tax, total — plus Customer Information for whatever fields you've made required, and a Pickup Time for takeaway.
An empty basket says Your cart is empty — add some items from the menu rather than sitting blank.
Then Proceed to Payment.
6. Payment and confirmation
Payment methods, then Order Confirmed! with the order number, order type, table number where relevant, estimated pickup and total.
Start New Order returns to the welcome screen for the next person.
Payment is covered in Payment and printing.
What makes a kiosk work
Everything that matters happens on the menu screen.
- Photos on everything. Not most things. Everything.
- Short, plain item names. They're read at a glance by someone standing up.
- One clear description line. Not a paragraph.
- Best sellers first. Item order follows Menu › Menu Organizer, and the top of the first category gets the most taps by a wide margin.
- Fewer categories. Eight scrolling categories is a customer giving up. Consolidate.
- Availability kept honest. An item that's sold out must be switched off. There's no one at the screen to apologise.
Watching real people use it
The most valuable hour you'll spend on this: stand nearby during a lunch rush and watch ten customers, without helping.
Note where they hesitate, what they tap twice, where they look up for a member of staff, and where anyone walks away. Every one of those is a fixable menu or wording problem.
Repeat after any menu change.
Good to know
- The kiosk shows your branch's menu, honouring the same availability and Show on Customer Site settings as your ordering site.
- Allergen information appears where you've recorded it — worth having, since nobody can ask. See Allergen labelling.
- Kiosk orders arrive as ordinary orders. The kitchen sees them exactly like any other.
- The kiosk needs a connection. It has no offline mode — see When the internet drops for how the staffed POS differs.