Tables and seating
What this is for
Tables are how Restodesk knows where an order is sitting. Once they exist, the floor screen becomes the fastest read of your restaurant: who's eating, who's waiting to pay, what's free.
Adding a table
- Go to Tables.
- Select Add Table.
- Fill in:
| Field | What to put |
|---|---|
| Table Code | What staff call it out loud — T1, 12, Bar 3, Booth A. Keep it short; it prints on tickets and receipts. |
| Choose Area | The area it sits in. |
| Seating Capacity | How many people it seats normally, not at a squeeze. |
- Save.
Do this for every table. It's the one setup job worth doing carefully, because the codes end up on kitchen tickets, receipts and QR codes, and changing them later means reprinting.
Naming tables well
- Match the floor. If the number is painted on the table, use that number.
- Keep it short. Long names get truncated on a 56 mm thermal ticket.
- Stay consistent inside an area.
T1–T6on the main floor andP1–P4on the patio reads better than a single run of 1–10 that nobody can locate.
Getting seating capacity right
Capacity isn't cosmetic. Restodesk uses it in two places:
- On the POS, if you enter more guests (Pax) than the table seats, it warns you and drops the number back to the table's capacity.
- Online booking only offers tables that fit the party size.
Set it to the comfortable number. If a four-top takes six at a push, still enter 4 — you can override at the table, but you don't want the booking system promising six a seat.
Reading the floor screen
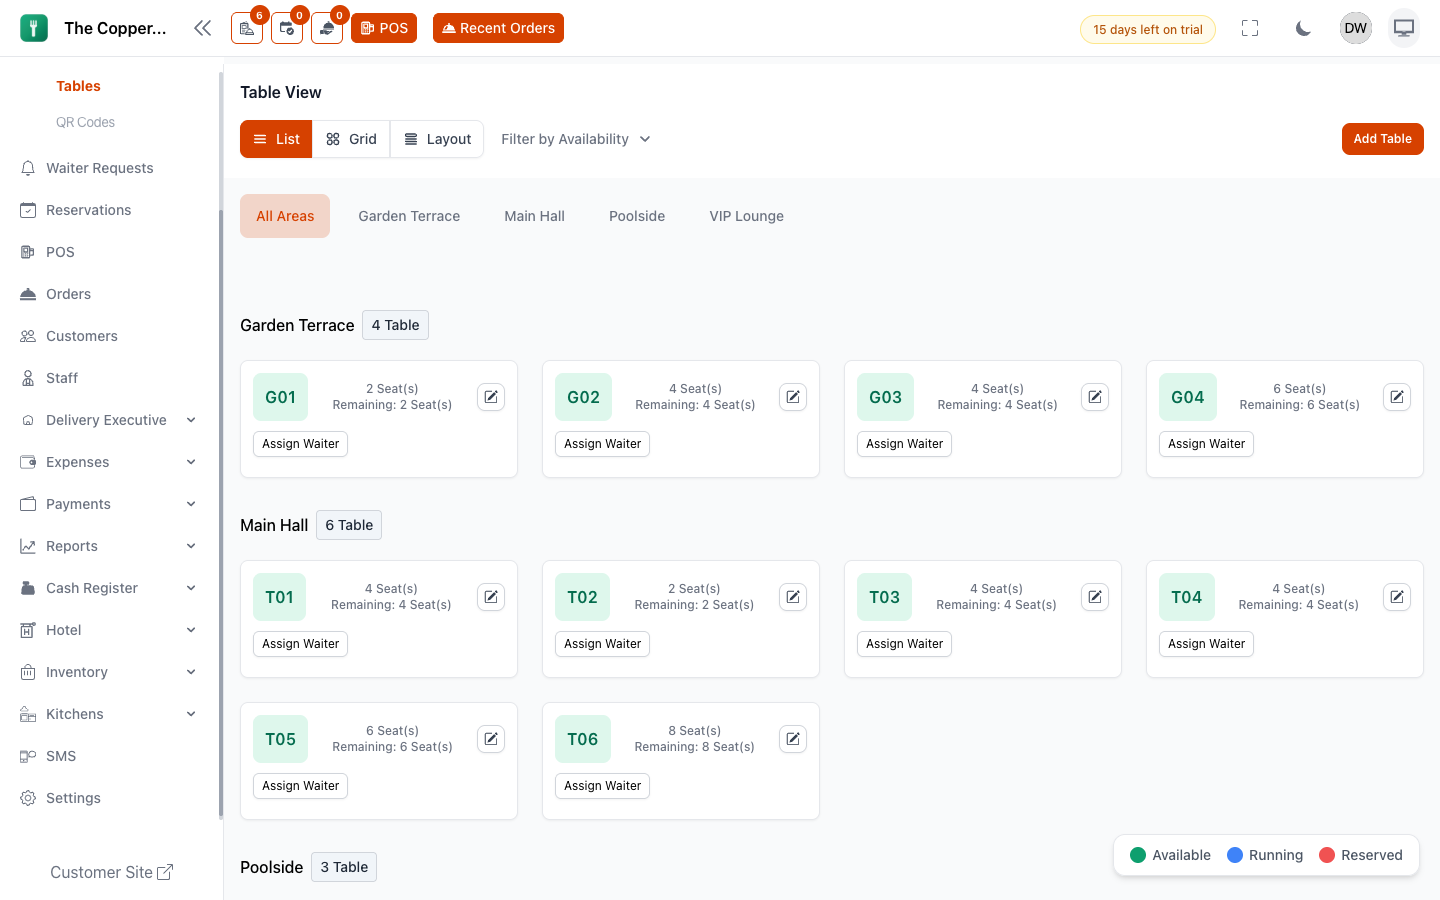
Tables › Table View shows every table grouped by area, colour-coded:
| Status | Means |
|---|---|
| Available | Nothing on it. Free to seat. |
| Running | An order is open on it — ordering, eating, or waiting to pay. |
| Reserved | A booking is attached for now or shortly. |
Use Filter by Availability to show only free tables when you're seating a walk-in.
Tapping a table opens or continues its order, which is the normal way a waiter starts service.
Assigning waiters
You can assign a waiter to a table, plus a Backup Waiter for the section.
Use Assign Waiter on the table. It's worth doing when:
- You run sections and want the sales report split by who served what.
- You want a waiter's own tables surfaced to them rather than the whole room.
If you don't run sections, skip it. The POS asks who took each order anyway.
Table locks
When two people open the same table at once, one of them is about to lose work. Restodesk prevents that by locking a table to whoever opened it first.
You'll see:
- Locked — someone else has this table open. Wait, or ask them to close it.
- Locked by You — your own session holds it. Finish and save.
- Lock Expired — the hold timed out and anyone can take it.
Locks release on their own. Managers can see everything under Table Lock Manager: who holds what, when they took it, and a Force Unlock if a device died mid-order or someone walked off with a tablet.
Force-unlocking is safe for the table, but unsaved items on the other device may be lost — check with the person holding it first when you can.
Editing and deleting tables
Open a table to change its code, area or capacity.
You can't delete a table cleanly while an order is running on it. Close or cancel the order first. For a table that's out of service temporarily, leaving it in place is better than deleting — its history stays intact.
Good to know
- Tables belong to a branch, like areas.
- Moving a live order to another table is done from the order, not here — see Building a bill.
- A table stays Running until its order is completed, not just until it's paid. That's deliberate: guests who've paid are still sitting there.